Table of Contents
Corn Plant Propagation: Turning One Plant Into Many
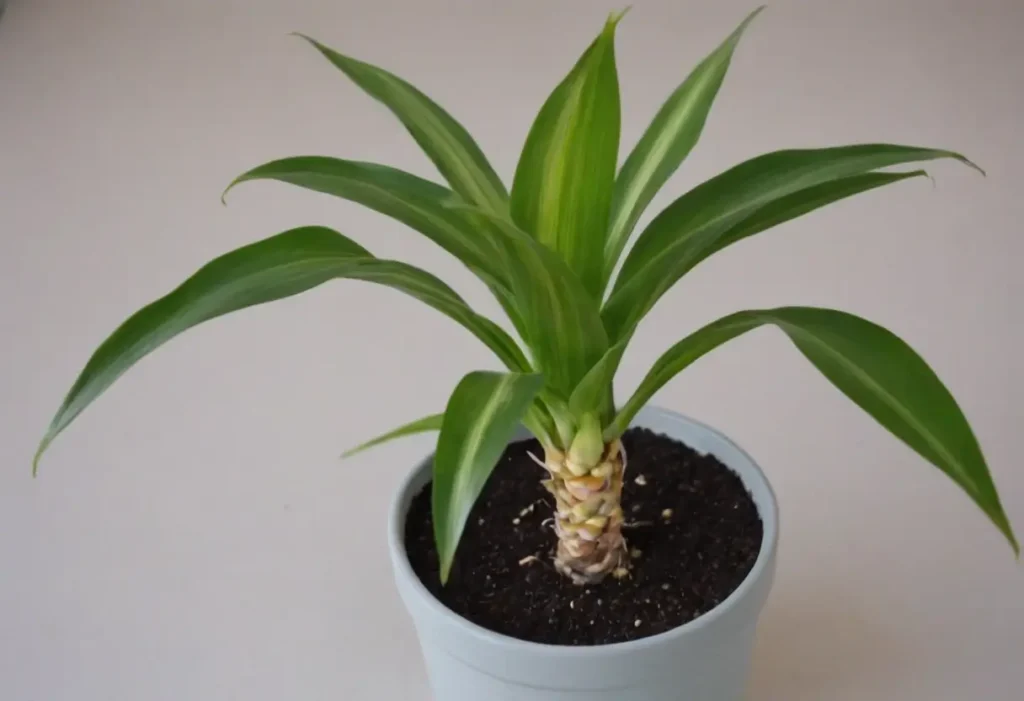
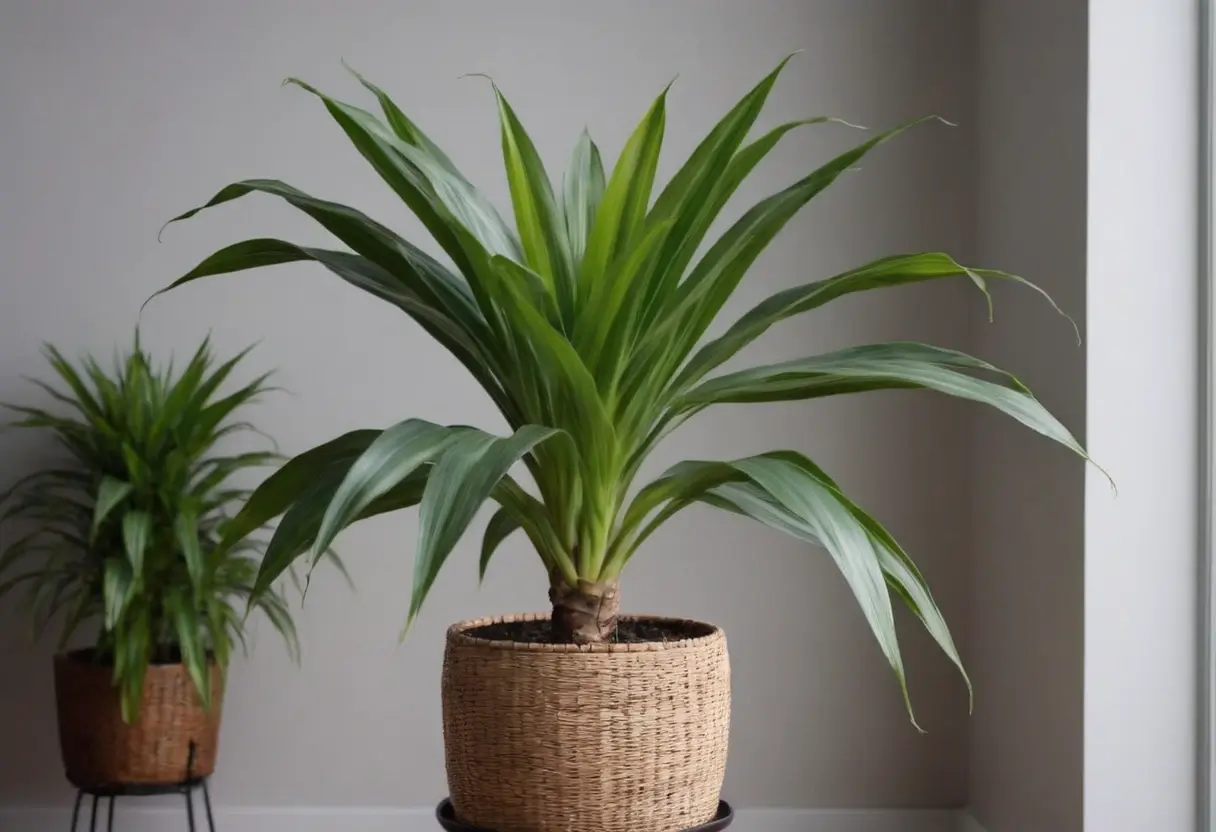
I’ve always had a soft spot for houseplants that bring a touch of the tropics indoors. And few do it better than the corn plant (Dracaena fragrans). With its tall, graceful canes and lush, corn-like leaves, it adds an instant sense of vibrant green energy to any room. Over the years, I’ve propagated countless corn plants, turning one happy houseplant into a whole family of them. And I’m excited to share with you that corn plant propagation is much easier than you might think!
This blog post will be your guide to successfully propagating corn plants at home, whether you’re a seasoned gardener or just starting out. I’ll walk you through two simple methods: stem cuttings and air layering. Get ready to multiply your plant collection and spread the joy of these tropical beauties!
The Magic of Multiplication: How Corn Plant Propagation Works
So, what exactly is corn plant propagation? It’s simply the process of creating new plants from an existing one. Instead of buying more plants, you’re essentially cloning your favorite corn plant and expanding your indoor jungle for free!

There are many good reasons why you might want to try propagating your corn plant:
- More Plants, More Joy! It’s like magic—you start with one plant and end up with several! Propagation allows you to easily increase your plant collection without spending a dime.
- A Fountain of Youth for Your Plants: If your corn plant is looking a bit leggy or overgrown, propagation can help you rejuvenate it. You can take cuttings from the top and give them a fresh start, resulting in bushier, more compact plants.
- Share the Green Love: Once you’ve mastered the art of corn plant propagation, you can share the joy of these beautiful plants with friends and family. It’s a thoughtful and personalized gift that keeps on growing!
Corn plants can be propagated using two main methods: stem cuttings and air layering. Stem cuttings are the most popular and straightforward method, while air layering is a bit more advanced but can be very effective, especially for larger plants. We’ll explore both of these methods in detail in the following sections.

Method 1: Growing New Corn Plants from Stem Cuttings
Stem cuttings are by far the most popular and easy way to propagate your corn plants. It’s a simple process that involves taking a section of a healthy stem and encouraging it to develop roots. Here’s a step-by-step guide to corn plant propagation using stem cuttings:
1. Gather Your Supplies:
- Clean, sharp pruning shears: It’s important to use clean tools to prevent the spread of disease. Wipe your shears with rubbing alcohol before and after each use.
- A jar or vase for water propagation: Choose a clear glass jar or vase so you can easily monitor root development.
- A container for soil propagation: Use a small pot (4-6 inches) with drainage holes.
- Rooting hormone (optional): While not essential, rooting hormone can help to stimulate root growth. I like to use it to give my cuttings a little extra boost.
- Well-draining potting mix: A combination of peat moss, perlite, and regular potting soil works well for corn plants.
2. Select and Prepare the Cutting:
- Choose a healthy stem: Look for a stem that is at least 8 inches long and free from any damage or disease. Younger stems tend to root more easily than older, woody ones.
- Make a clean, angled cut: Using your sharp shears, cut the stem at a 45-degree angle just below a leaf node. Leaf nodes are the small, raised bumps on the stem where leaves grow. They are the points from which new roots will develop.
- Remove lower leaves: Strip off the leaves from the bottom half of the cutting, leaving 2-3 leaves at the top. This directs the plant’s energy toward developing its roots.
- (Optional) Dip the cut end in rooting hormone: Gently tap off any excess rooting hormone.
3. Rooting in Water (Option A):
- Place the cutting in water: Submerge the bottom portion of the cutting in a jar or vase filled with fresh, room-temperature water. Make sure that at least one or two nodes are underwater.
- Change the water regularly: Replace the water every few days to keep it fresh and oxygenated.
- Place in indirect light: Choose a warm, bright location that receives indirect sunlight.
4. Rooting in Soil (Option B):
- Fill the container with fresh potting mix: Dampen the potting mix prior to planting the cutting.
- Plant the cutting: Place the cutting into the soil, ensuring the bottom nodes are fully covered. Lightly press the soil around the cutting to secure it in position.
- Maintain consistent moisture: Keep the potting mix evenly moist, but ensure it doesn’t become waterlogged.
- Place in indirect light: Similar to water propagation, Set the container in an area with bright, indirect sunlight.
5. Monitoring and Care:
- Check for root development: After 2 to 8 weeks, roots should start to develop. You’ll see them emerging from the nodes.
- Transplant to soil: Once the roots are about 1 to 2 inches long, you can transplant the cutting into a pot with fresh potting mix. Treat the delicate roots with caution.
- Provide proper care: Follow the guidelines in the next section for caring for your newly propagated corn plant.
I’ve found that both water and soil propagation methods work well for corn plants. If you choose water propagation, you’ll have the advantage of being able to see the roots develop, which is always fascinating! However, I find that cuttings rooted in soil tend to transition more smoothly to their permanent pots. It’s really a matter of personal preference!
Method 2: Air Layering for Corn Plant Propagation
Air layering is another technique for propagating corn plants, and it’s particularly useful when you’re working with larger, more mature canes. The concept is to promote root growth on a stem while it remains connected to the parent plant. Once the roots are established, you can then separate the newly rooted section and pot it up.
Here’s how I approach corn plant propagation using air layering:
1. Gather your supplies:
- Sharp, clean knife or razor blade: You’ll need this to make a small wound on the stem. Sterilize the blade with rubbing alcohol before use.
- Moist sphagnum moss: This is the perfect medium for encouraging root development.
- Clear plastic wrap: This will be used to create a humid environment around the wounded area.
- Twist ties or rubber bands: Use these to secure the plastic wrap.
- (Optional) Rooting hormone: You can use rooting hormone to further stimulate root growth.
2. Select a healthy stem: Choose a stem that is at least 1/2 inch in diameter. Look for a spot on the stem that is about 6-8 inches below the leaves.
3. Make a wound on the stem: Carefully make a shallow, upward-angled cut about 1-2 inches long on the stem. You can also make a notch by removing a thin strip of bark all the way around the stem. The idea is to expose the cambium layer, which is the layer of tissue that lies just beneath the bark and is responsible for new growth.
4. Apply rooting hormone (optional): If you’re using rooting hormone, apply it to the wounded area.
5. Wrap the stem with moss: Pack a handful of moist sphagnum moss around the wounded area of the stem. The moss should be moist, but not overly saturated.
6. Secure the moss with plastic wrap: Wrap the moss-covered area with clear plastic wrap, creating a tight seal around the stem. Secure the plastic wrap in place with twist ties or rubber bands.
7. Monitor and maintain moisture: Check the moss periodically to make sure it remains moist. If it starts to dry out, you can mist it lightly with water.
8. Watch for root development: Roots should begin to form within a few weeks to a few months. You’ll be able to see them through the clear plastic wrap.
9. Separate and pot the new plant: Once a healthy root system has developed, you can cut the stem below the rooted section and pot it up in a container filled with well-draining potting mix. Give the plant a good watering and place it in an area with bright, indirect light.
Air layering can be a slower process than stem cuttings, but it offers a higher success rate, especially when working with thicker canes. It’s a great technique to have in your corn plant propagation toolbox!
Caring for Your Newest Additions: Tips for Thriving Corn Plants

Congratulations! You’ve successfully propagated your corn plants, and now you have these bright, new additions to your indoor garden. Now, provide them with the care they need to flourish. Think of it as nurturing your plant babies as they settle into their new homes. Don’t worry, caring for your newly propagated corn plants is as straightforward as the corn plant propagation process itself.
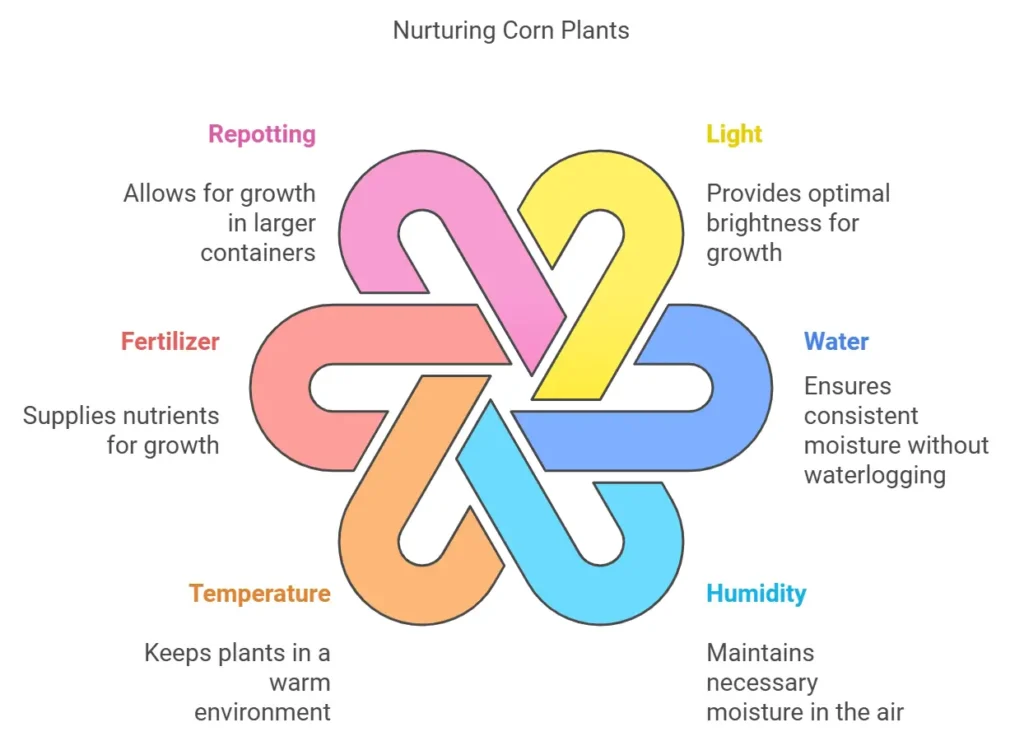
Here are my tips to help your new plants thrive:
Light: Just like their parent plant, your newly propagated corn plants will thrive in bright, indirect light. Keep them out of direct sunlight, as it can burn their delicate leaves. An east-facing window is usually an ideal location.
Water: Maintain consistent moisture in the soil, but ensure it never becomes waterlogged. Overwatering is a common problem for new plant owners, and it can lead to root rot. Test the top inch of the soil if it is dry then water it again
Humidity: Corn plants love humidity! To boost humidity for your plants, try grouping them together, using a humidifier, or by putting them on a pebble tray filled with water.
Temperature: Keep your newly propagated corn plants in a warm location with temperatures between 65°F and 80°F. Avoid exposing them to cold drafts, as this can shock them and slow down their growth.
Fertilizer: Once your new plants have been growing for a few months, you can start fertilizing them lightly every 4-6 weeks during the growing season (spring and summer). Dilute a balanced, water-soluble fertilizer to half the recommended strength before using it.
Repotting: As your corn plants grow, they’ll eventually need to be repotted into larger containers. Pick a pot that is just slightly larger than the current one, and make sure to use a well-draining potting mix.
Troubleshooting: Be vigilant for any indications of pests or diseases on your plant. Yellowing leaves can indicate overwatering, while brown tips can be a sign of low humidity or too much fluoride in the water. If you notice any issues, modify your care routine as needed.
Enjoy Your New Corn Plant Family:
By following these simple tips, you’ll be well on your way to raising healthy and vibrant corn plants. Keep in mind that patience is essential when caring for plants. Don’t get discouraged if your newly propagated plants take a little time to adjust. With a little TLC and the right conditions, they’ll soon be thriving and adding their tropical charm to your home.
Troubleshooting Your Corn Plant Propagation Efforts

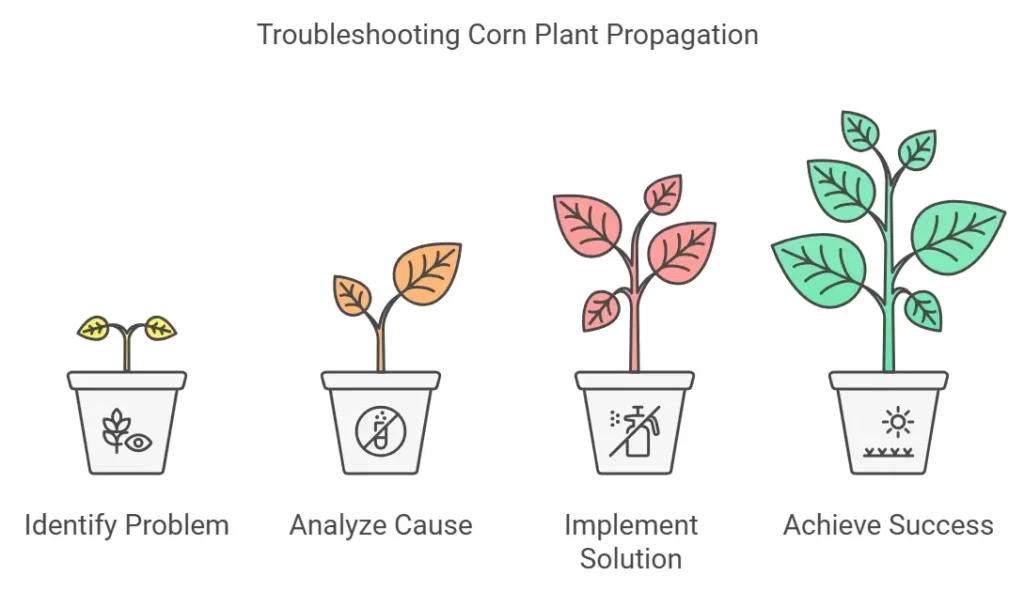
Even with the best of intentions and careful attention, sometimes things don’t go exactly as planned during the corn plant propagation process. Don’t worry! Most problems are easily remedied with a few adjustments. Here are a few common problems you may face and how to handle them:
1. Yellowing Leaves:
- Likely Cause: Overwatering. Keep in mind that corn plants like their soil to be moist, but not overly wet.
- Solution: Let the soil dry out further before watering again. Make sure your pot has good drainage. If the yellowing is severe, you might need to repot the plant into fresh, dry potting mix.
2. Brown Leaf Tips:
- Likely Causes: Several factors can contribute to brown leaf tips, including:
- Low humidity
- Fluoride in tap water
- Over-fertilization
- Solutions:
- Increase humidity around your plants. Use a humidifier, group your plants together, or by placing them on a pebble tray with water.
- Use distilled water or let tap water sit out overnight to allow chlorine and fluoride to evaporate.
- Reduce fertilizer application or switch to a gentler, organic fertilizer.
3. Stem Rot:
- Likely Cause: Excessive moisture and poor drainage can lead to stem rot, a bacterial infection.
- Solution: Stem rot is difficult to treat, and often the plant is not salvageable. To prevent stem rot, ensure proper drainage and avoid overwatering.
4. Cuttings Failing to Root:
- Likely Causes:
- Using old or damaged cuttings
- Insufficient moisture
- Transplant shock
- Inconsistent temperatures
- Solutions:
- Begin with fresh, healthy cuttings from a strong, thriving parent plant.
- Maintain consistent moisture during the rooting process.
- Be gentle when transplanting cuttings.
- Provide a warm, stable environment for rooting.
5. Pests:
- Common culprits: Spider mites, mealybugs, scale.
- Solution: Inspect your plants regularly for any pest infestations. Wipe leaves with a damp cloth or use a gentle insecticidal soap to control infestations.
Additional Tips:
- Be patient: Remember, rooting can take time. It might take a few weeks to several months for roots to develop, depending on the method and the plant’s conditions.
- Sanitize your tools: Always use clean, sharp tools to prevent the spread of disease. Wipe your pruning shears with rubbing alcohol before and after each use.
By understanding the potential challenges and taking proactive steps, you can increase your chances of corn plant propagation success. With a little practice and observation, you’ll become a confident plant parent, expanding your indoor jungle with ease.
Bringing the Beauty of Corn Plants into Your Home
Propagating corn plants is a rewarding endeavor that allows you to multiply your favorite houseplants, creating a lush and inviting indoor space. Whether you choose the simplicity of stem cuttings or the intriguing technique of air layering, you’re taking an active role in nurturing new life.
Remember, while the techniques are straightforward, successful corn plant propagation relies on understanding the basic needs of these tropical beauties. Providing the right balance of light, water, humidity, and temperature will set your new plants up for success.
Feel free to experiment and pay attention to how your plants respond. Each propagation journey is a learning experience. Over time, you’ll develop your green thumb and become more confident in your ability to grow these stunning and easy-care houseplants.
So go ahead, give corn plant propagation a try. You might be surprised by how easy and satisfying it is to share the beauty of these plants with yourself, your friends, and your family.
Common Questions about Corn Plant Propagation
Here are some of the questions I’m most often asked about corn plant propagation:
1. What’s the best time of year for corn plant propagation?
I always find the best time for propagating corn plants is during the active growing season, which is typically spring and early summer. During this time, the plant is putting out new growth and the days are longer, providing more light. You might see success at other times of year, but it’s best to work with nature’s natural rhythms!
2. How long does it take for corn plant cuttings to root?
Rooting time can vary quite a bit depending on several factors, such as the method you’re using, the size of the cutting, the temperature, and humidity.
- Water propagation: You might start to see roots forming within a few weeks.
- Soil propagation: It could take several weeks to a few months to see new growth, which is an indication that the cutting has rooted.
- Air layering: This method often takes the longest, and it could be several months before you have a rooted section ready to be separated.
3. Is it okay to use rooting hormone for corn plant propagating?
While rooting hormone isn’t strictly necessary for corn plants, I find that it can help to speed up the rooting process, especially for larger cuttings or for those propagated through air layering. Make sure to adhere to the instructions provided on the product label.
4. Why are the leaves on my corn plant cuttings turning yellow?
Yellowing leaves are often a sign of overwatering. It is important to let the soil dry out a little before watering again. It’s much easier to remedy underwatering than overwatering, so err on the side of dryness.
5. My corn plant cuttings are wilting. What should I do?
Wilting can indicate that your cuttings are not getting enough moisture or that the humidity is too low. Make sure you are maintaining consistent moisture in the rooting medium, and try increasing the humidity around the cuttings.
6. How do I know when my corn plant cuttings are ready to be transplanted?
- Water propagation: Once the roots are about an inch long, they are ready to be potted up in soil.
- Soil propagation: Wait for new growth to emerge, as this is a sign that roots have developed.
- Air layering: Once you see a healthy mass of roots through the plastic wrap, you can cut the stem below the rooted section and pot it up.
7. My corn plant has brown tips on the leaves. What’s wrong?
Brown tips can be caused by several factors, including low humidity, fluoride in tap water, and over-fertilization. Try increasing the humidity, using distilled water, or reducing the amount of fertilizer you’re using.
8. Can I propagate a corn plant from a leaf cutting? Corn plants cannot be propagated by leaf cuttings alone. You need a section of stem that includes at least one node for successful propagation.

